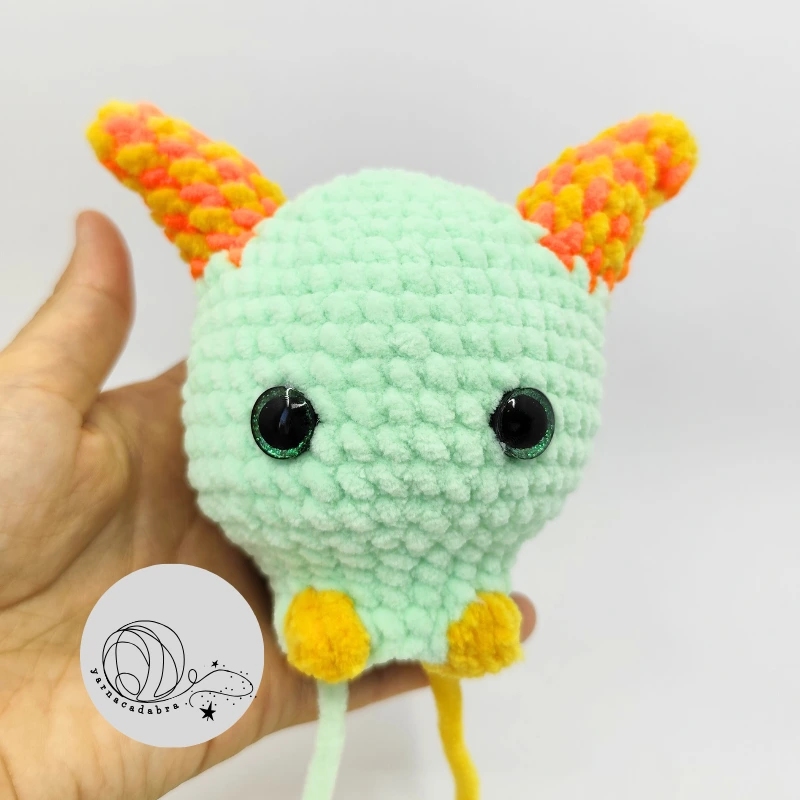
Free monster crochet pattern - meet Roger, the friendly monster
Here I am with my adorable crochet monster, Roger! This friendly amigurumi monster is anything but scary, no need to be afraid! Just grab your crochet hook, follow along with this free crochet pattern, and enjoy making your very own cute monster friend. :)
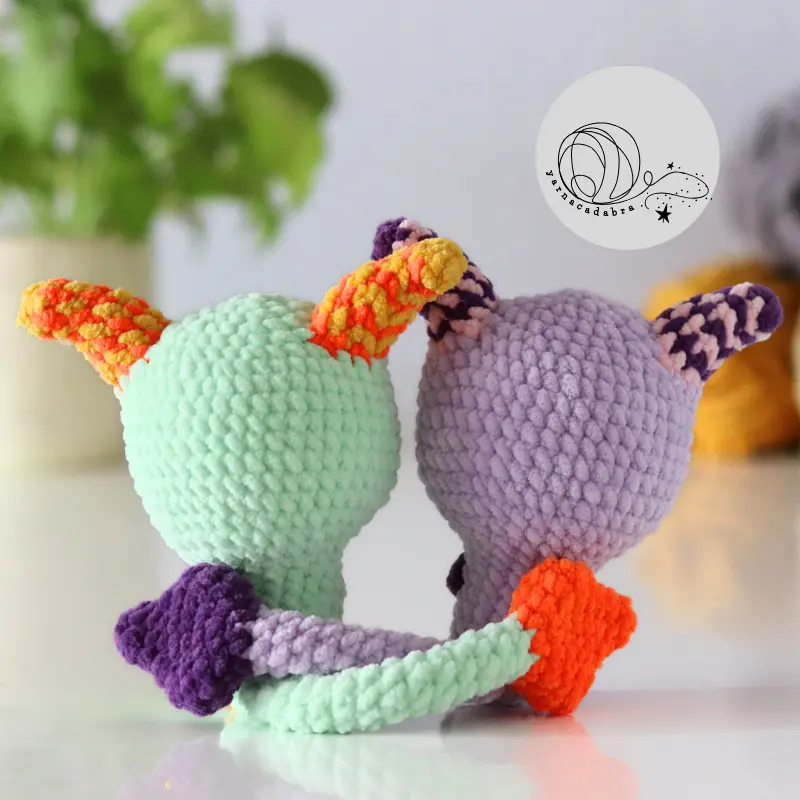
If you have fun crocheting Roger, don’t forget that Gregory is also waiting for you! Just click here to get his pattern. And very soon, Rosalinda will join the crew, completing my little collection of friendly, handmade crochet monsters!
Happy crocheting!
The toy is worked in continuous rounds – do not join after each round.
If you feel it is necessary, use stitch marker to follow the lines.
Using invisible decreases makes the toy more beautiful.
Materials and supplies
If the toy is made for children under 3 years, instead of using safety eyes, embroider them!
Size of the toy, crocheted with the recommended yarn is approximately 13-14 cm tall.
This toy was made of 100% Polyester yarn which weights is 100g/120m
Fiber filling
Big tapestry needle for sewing details together, scissors
2 pieces of 10 mm colored safety eyes
4 mm crochet hook
Abbreviations
I use US terms in all my English crochet patterns.
ch - chain
st - stitch
sl st - slip stitch
sc - single crochet
inc - increase
dec - decrease
() - number of stitches in a round/row
(...)* - repeat instructions between * *
FLO - crochet in the front loop only
BLO - crochet in the back loop only
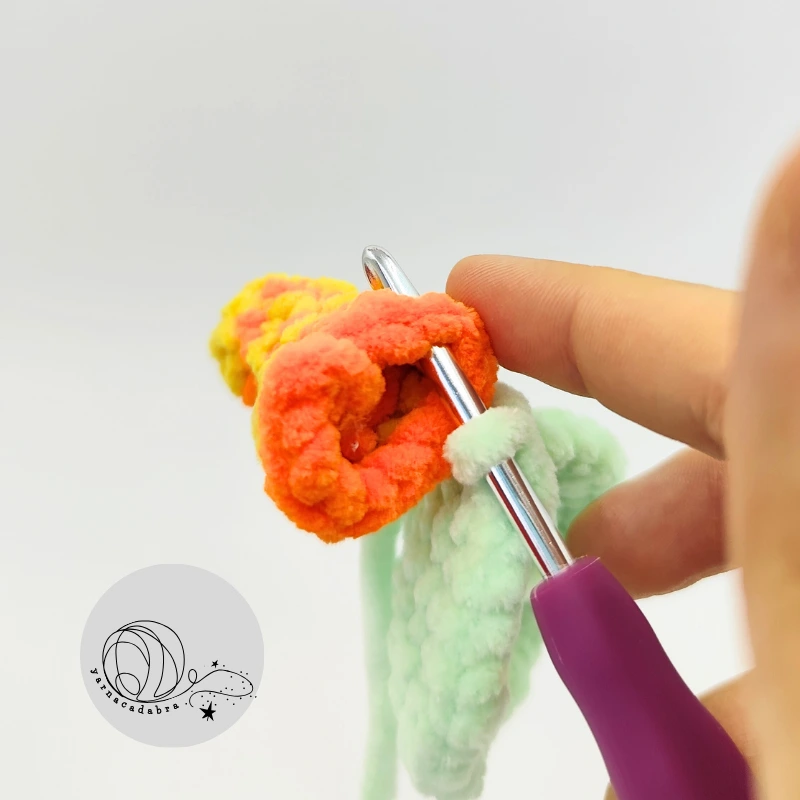
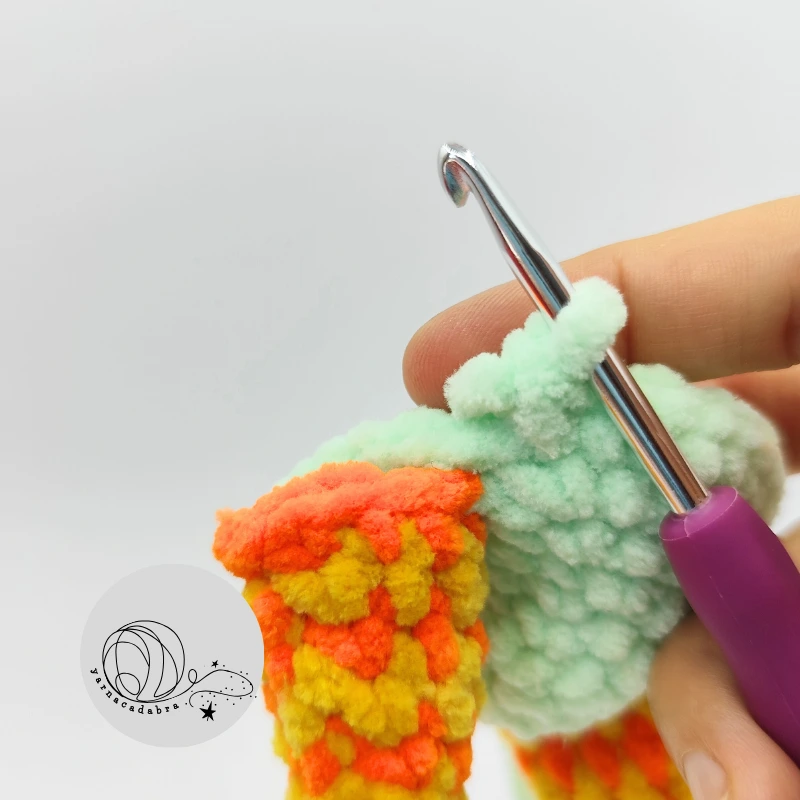
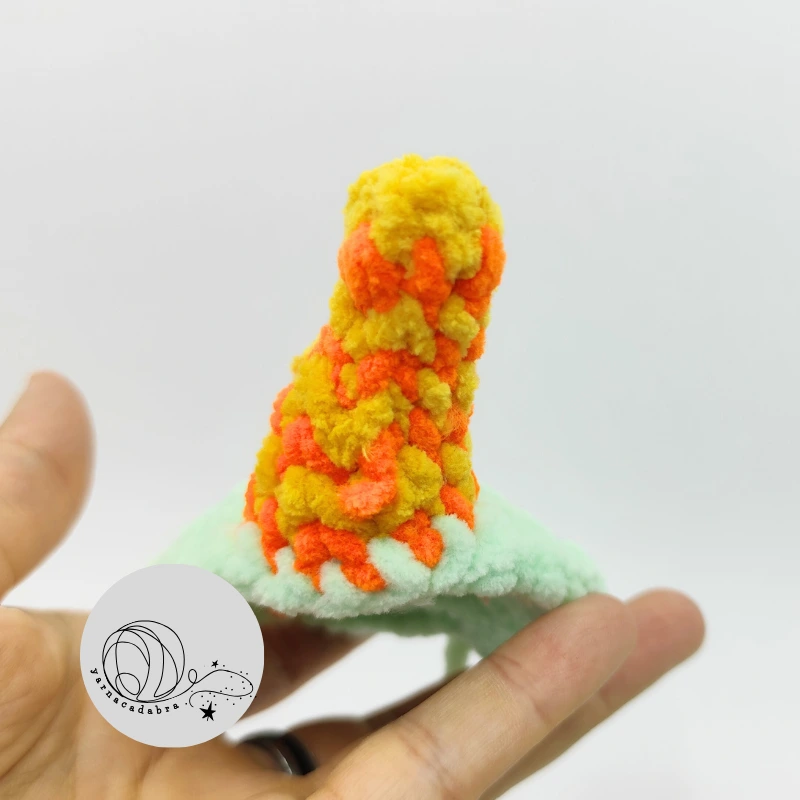
Horns - make two pieces
Start: crochet with yellow yarn.
1. ch 2, turn, work into the second chain from the hook, 6 sc (6)
Change color to orange, don't cut the yellow yarn.
2. sc into every st across (6)
Change color to yellow, don't cut the orange yarn.
3. 5 sc, inc (7)
Change color to orange, don't cut the yellow yarn.
4. 6 sc, inc (8)
Change color to yellow, don't cut the orange yarn.
5. 7 sc, inc (9)
Change color to orange, don't cut the yellow yarn.
6. 8 sc, inc (10)
Change color to yellow, don't cut the orange yarn.
7. 9 sc, inc (11)
Change color to orange, cut the yellow yarn.
8. 10 sc, inc, join with a sl st (12)
Fasten off, and weave in the ends.
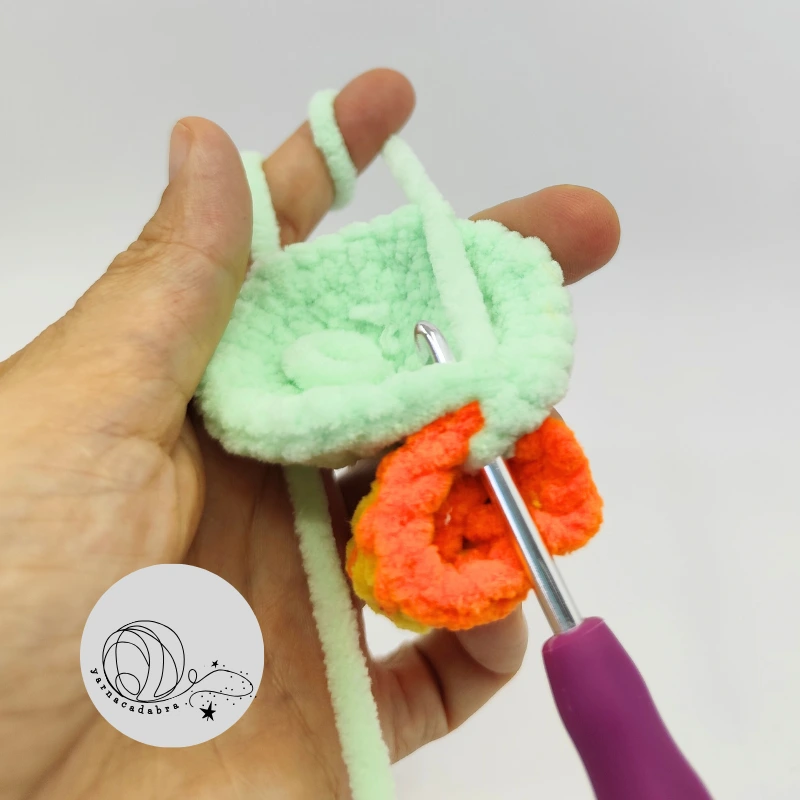
Head & body
Start: crochet with light green yarn.
1. ch 2, turn, work into the second chain from the hook, 6 sc (6)
2. inc*6 (12)
3. (sc, inc)*6 (18)
4. (sc, inc, sc)*6 (24)
5. (3 sc, inc)*6 (30)
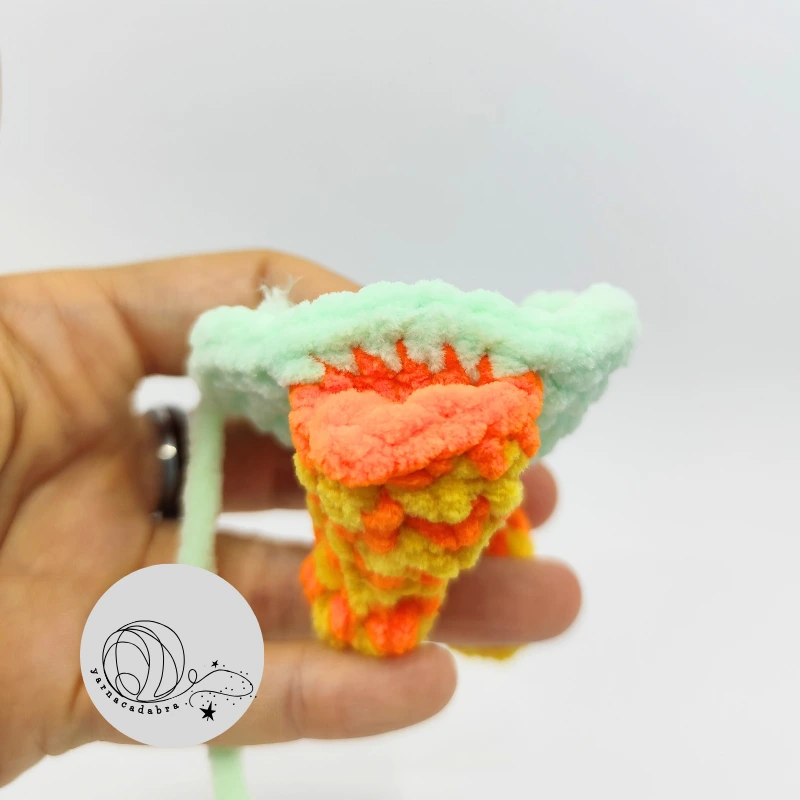
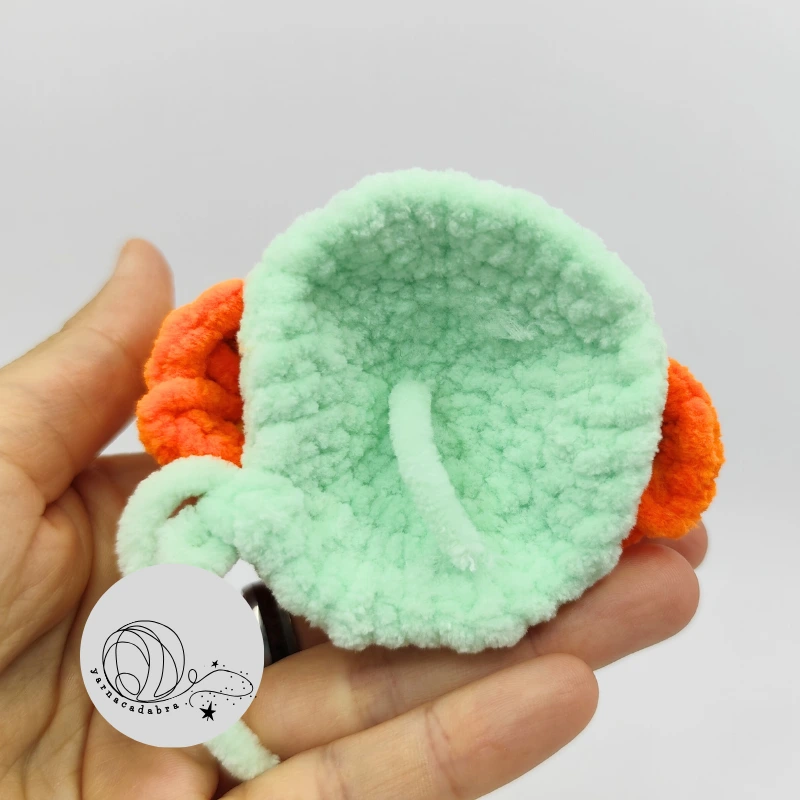
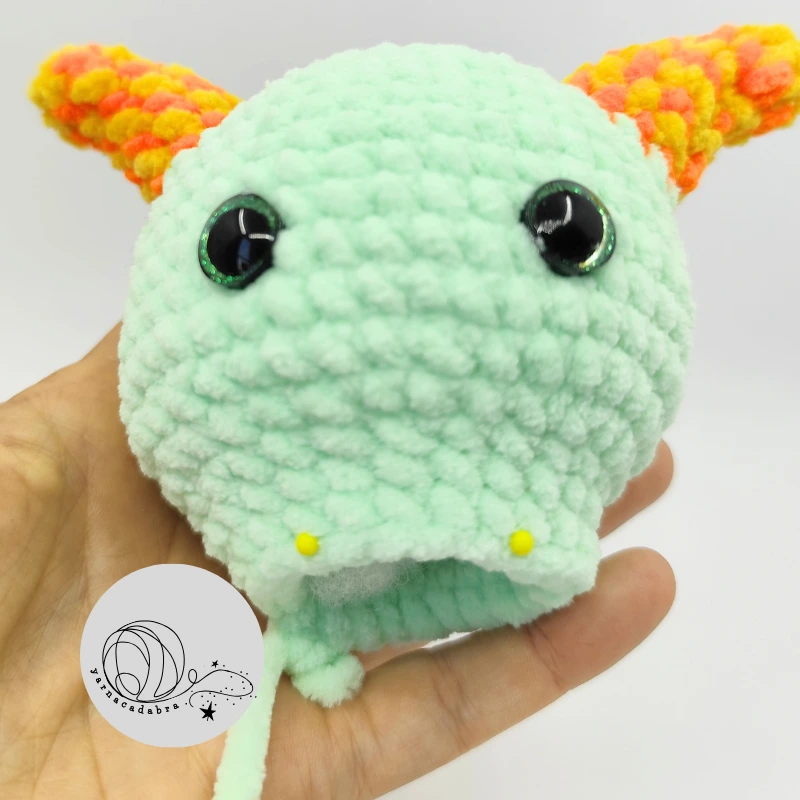
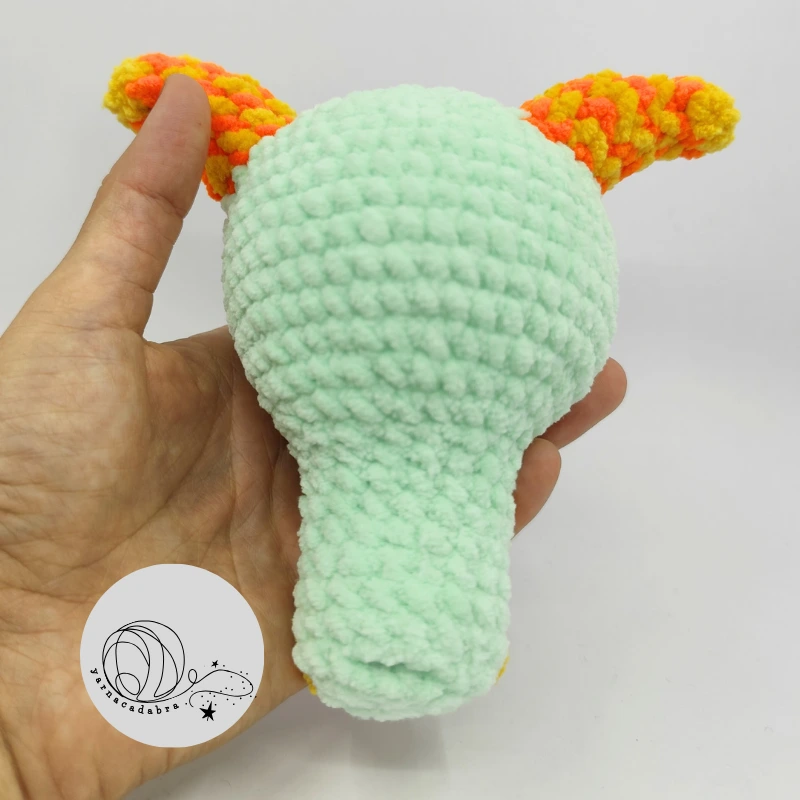
In the next round, attach the horns, making sure the horns point downwards.
6. 6 sc crocheted together with the horn, (2 sc, inc)*3, 6 sc crocheted together with the horn, (2 sc, inc)*3 (36)
Crochet on the outside of the horns.
7. (5 sc, inc)*6 (42)
8-14. sc into every st across (42) (7 rounds)
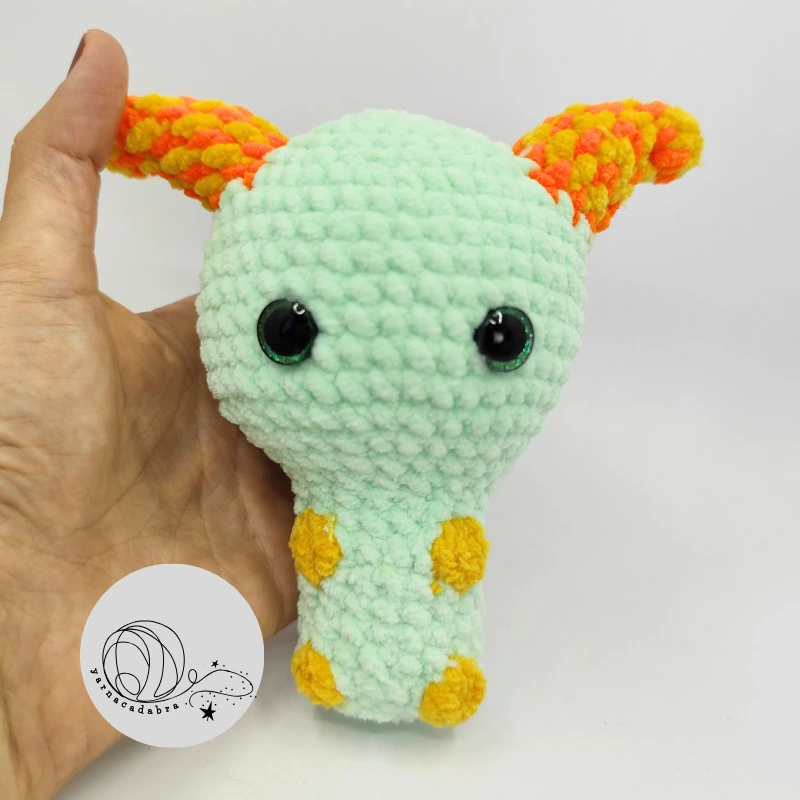
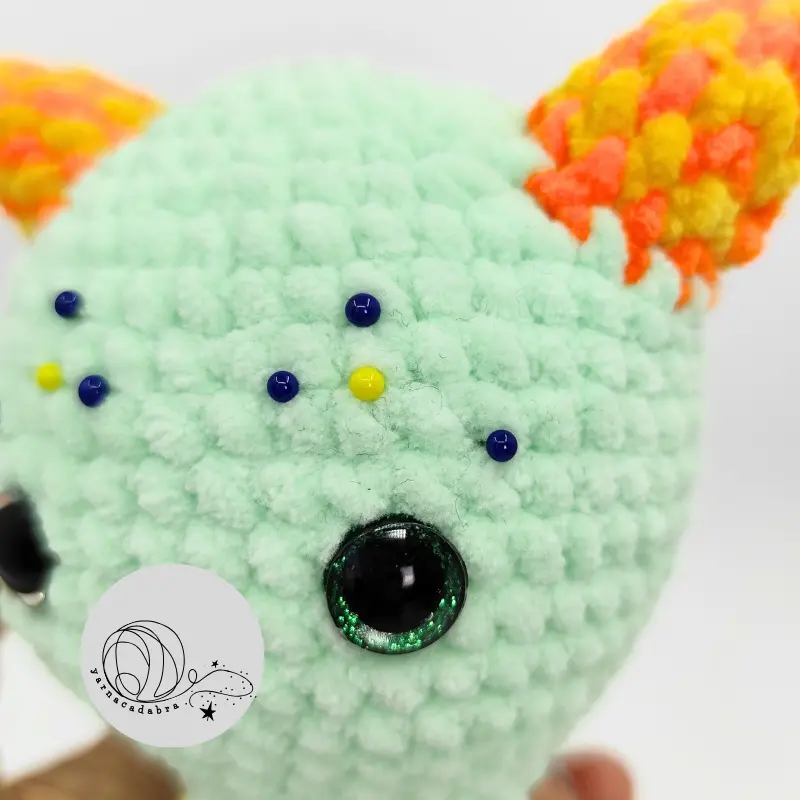
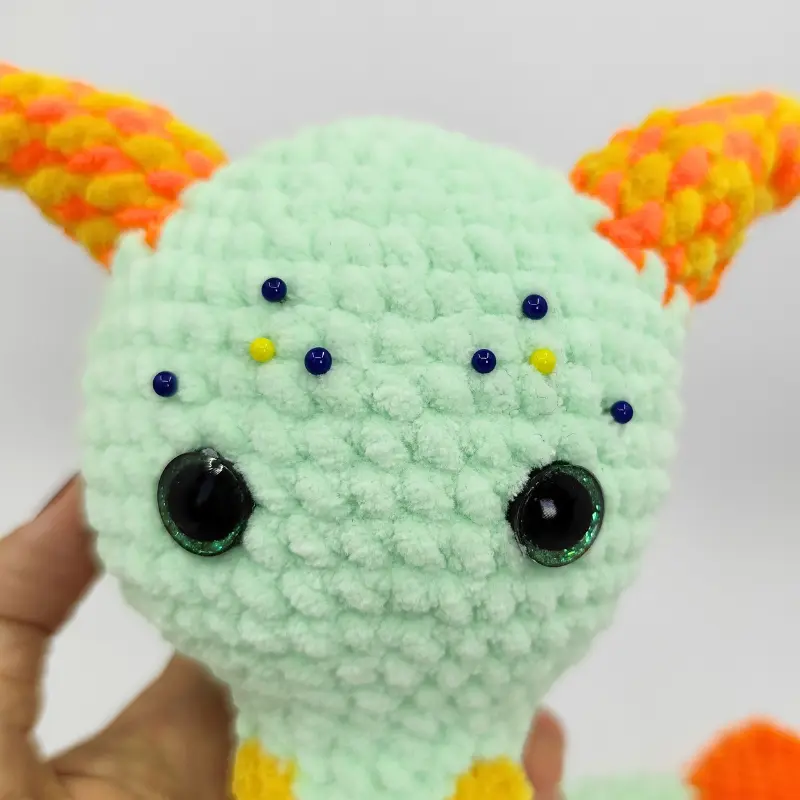
Insert safety eyes between rows 12-13, 8 sts apart.
15. (5 sc, dec)*6 (36)
16. (2 sc, dec, 2 sc)*6 (30)
17. (3 sc, dec)*6 (24)
18. (sc, dec, sc)*6 (18)
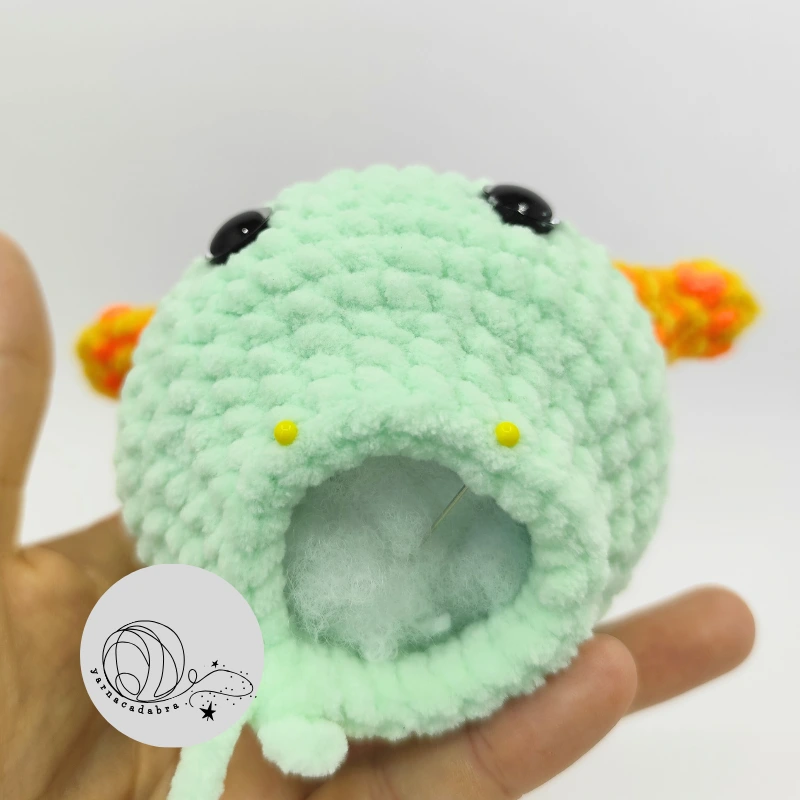
Stuff the head.
19-20. sc into every st across (18) (2 rounds)
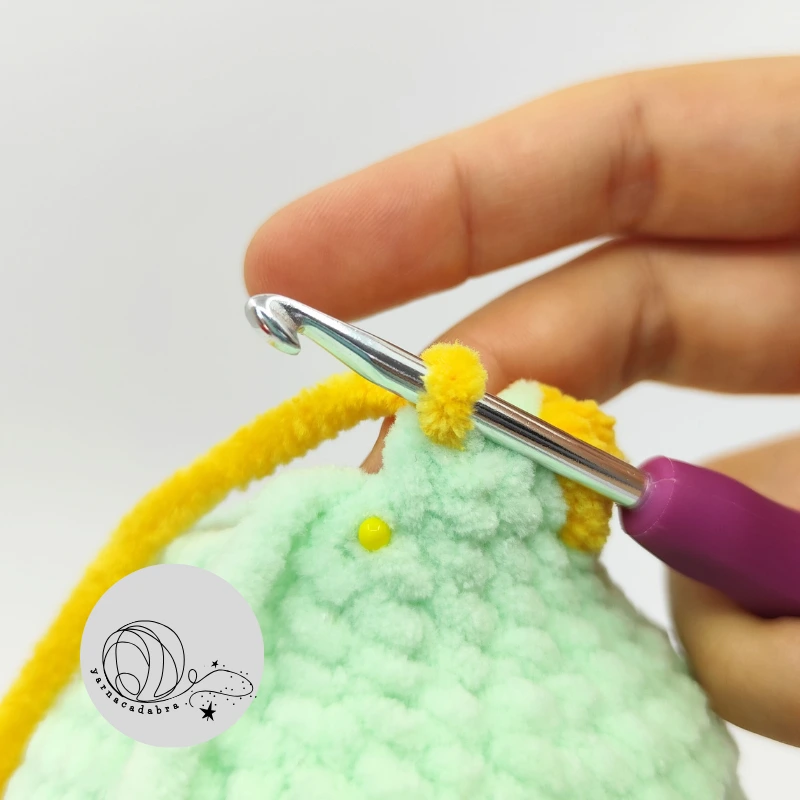
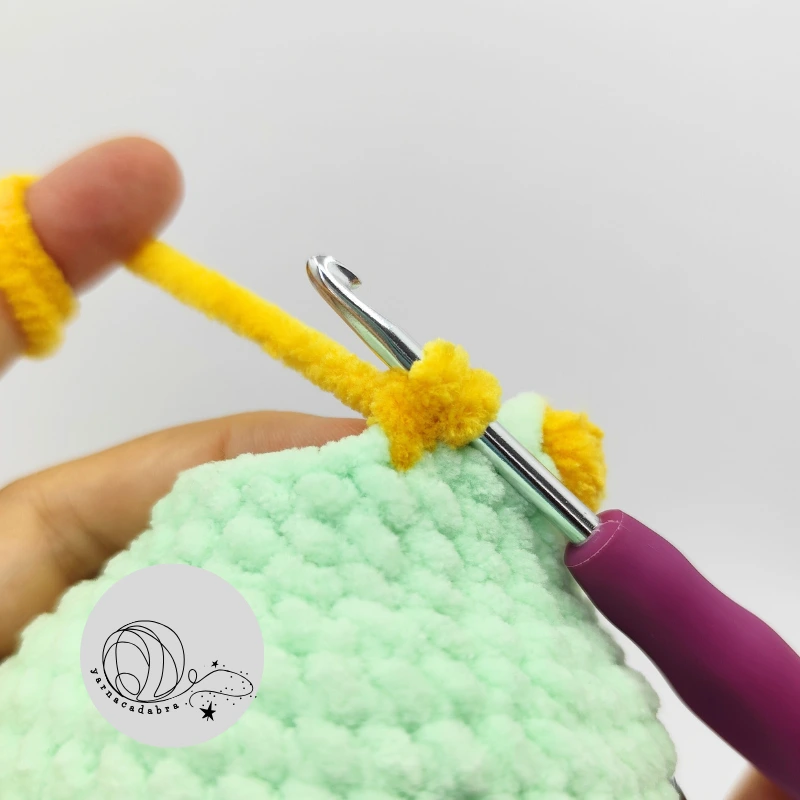
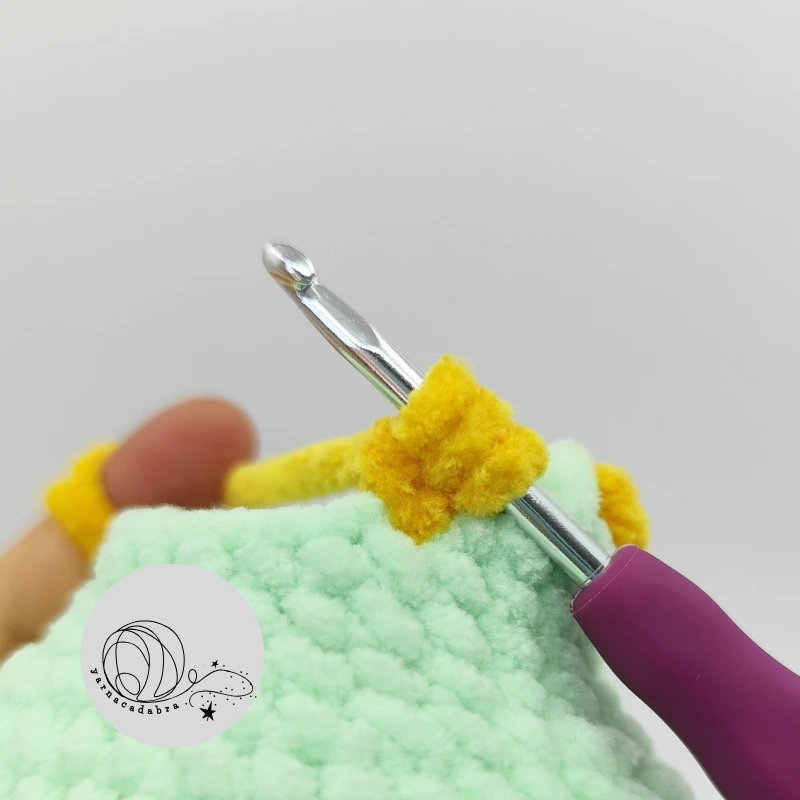
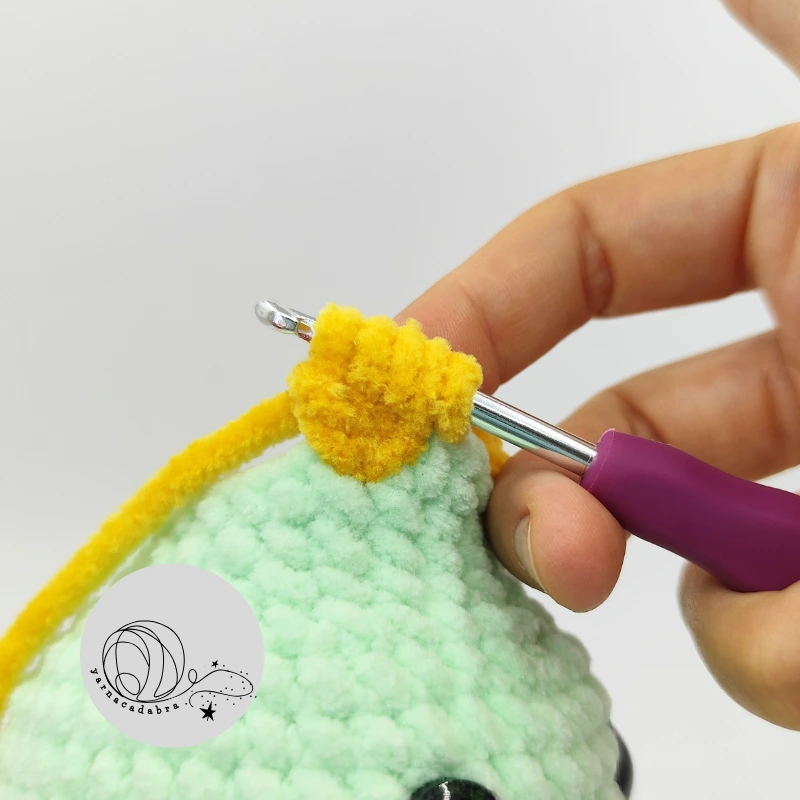
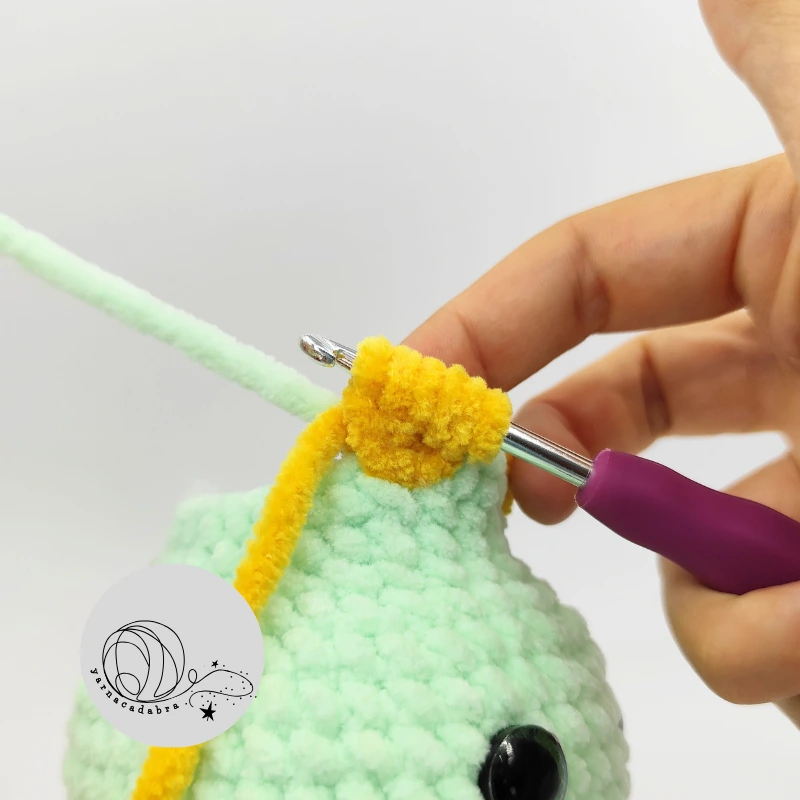
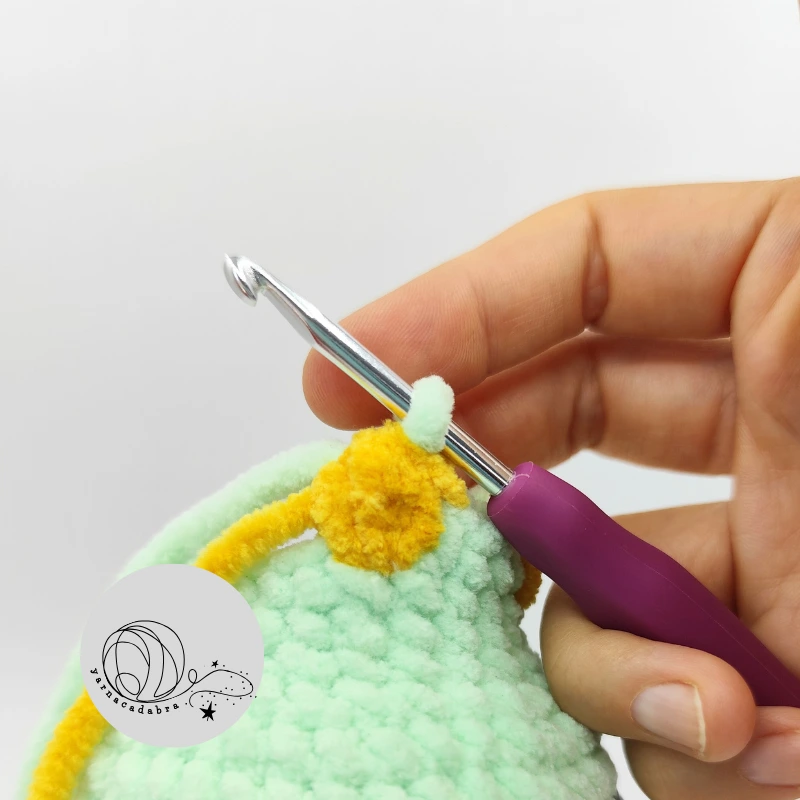
In the next row, join the yellow yarn; we will crochet the arms. Find the placement for the arms, ensuring they are aligned with the eyes. Place a stitch marker in the appropriate spot, and in the next round, crochet a bubble stitch into this stitch using the yellow yarn. After completing the round, do not cut the yellow yarn.
21. 4 sc, bubble st (with yellow yarn), 4 sc, bubble st (with yellow yarn), 7 sc (18)

22-25. sc into every sts across (18) (4 rounds)
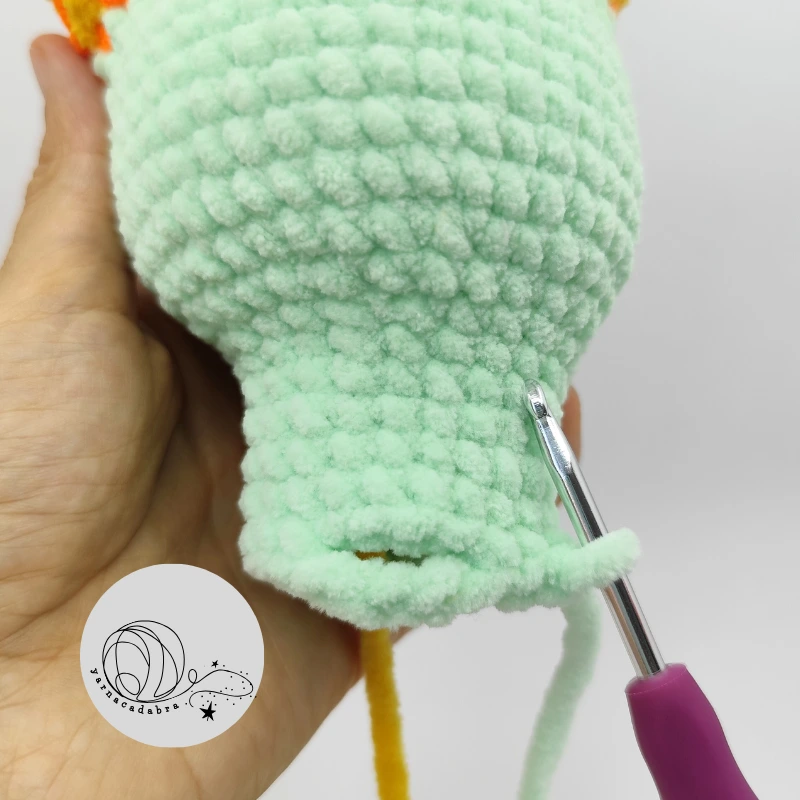
The alignment of your crochet stitches can vary significantly depending on whether you are working in an X-shape or V-shape. Stitches tend to shift more when using a V-shape. Additionally, the tightness or looseness of your tension plays a role. With this in mind, as you work the next round, ensure the two legs are aligned with the two arms, and position the tail in the center of the back. Based on my calculations, the tail should be secured with the first stitch of the next round, though this may differ depending on your specific case. Adjust the next row, if needed!
26. 4 sc, bubble st (with yellow yarn), 4 sc, bubble st (with yellow yarn), 5 sc, ch 3, skip the next 3 sts. You will secure the placement of the tail in the next rounds first st.
Stuff, cut the yellow yarn.
27. (sc, dec)*6 (12)
28. dec*6 (6)
Fasten off and weave in the ends.
Tail
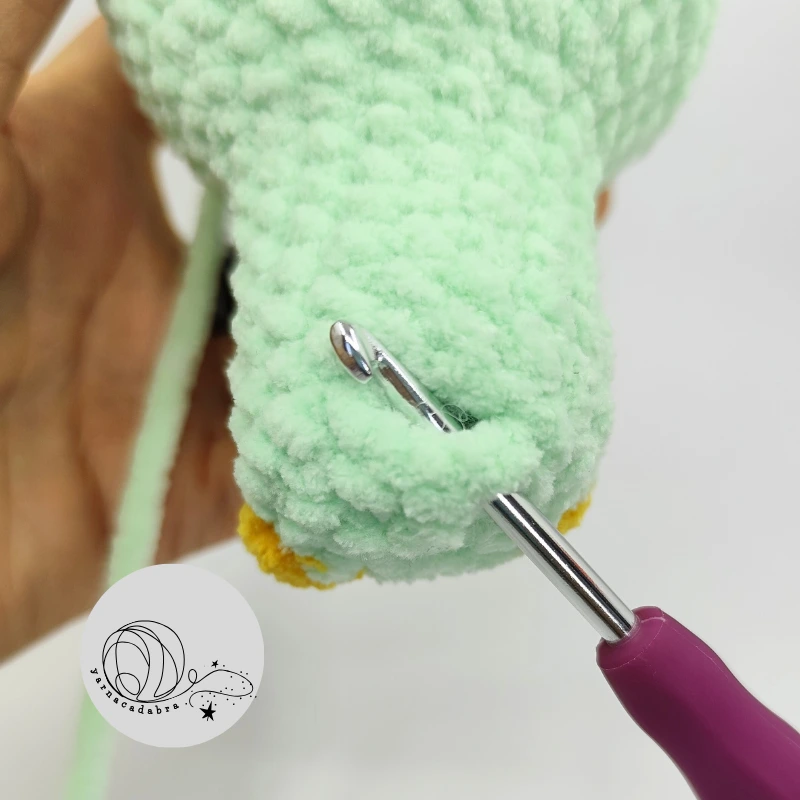
Hold the monster’s body facing you with the placement of the tail pointing toward you. Attach the light green yarn to the first available stitch at the bottom, ch 1, then:
1. sc into the next three stitches, turn the little monster, and crochet 3 sc into the free loops of the chain stitches (6)
2-16. sc into every st across (6) (15 rounds)
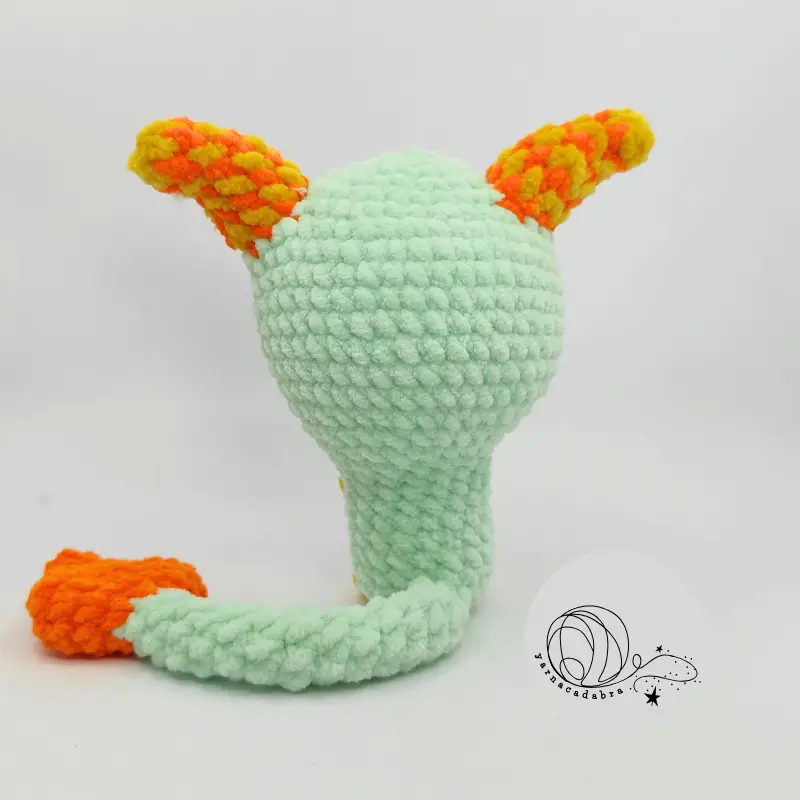
Change color to yellow, cut the light green yarn.
17. inc*6 (12)
18. (inc*3, 3 sc)*2 (18)
19. 2 sc, inc*3, 5 sc, inc*3, 5 sc (24)
20. sc into every st across (24)
21. 3 sc, dec3*2, 6 sc, dec3*2, 3 sc (16)
22. sc, dec3*2, 2 sc, dec3*2, sc (8)
23. sc into every st across (8)
24. (2 sc, dec)*2 (6)
Fasten off and weave in the ends.
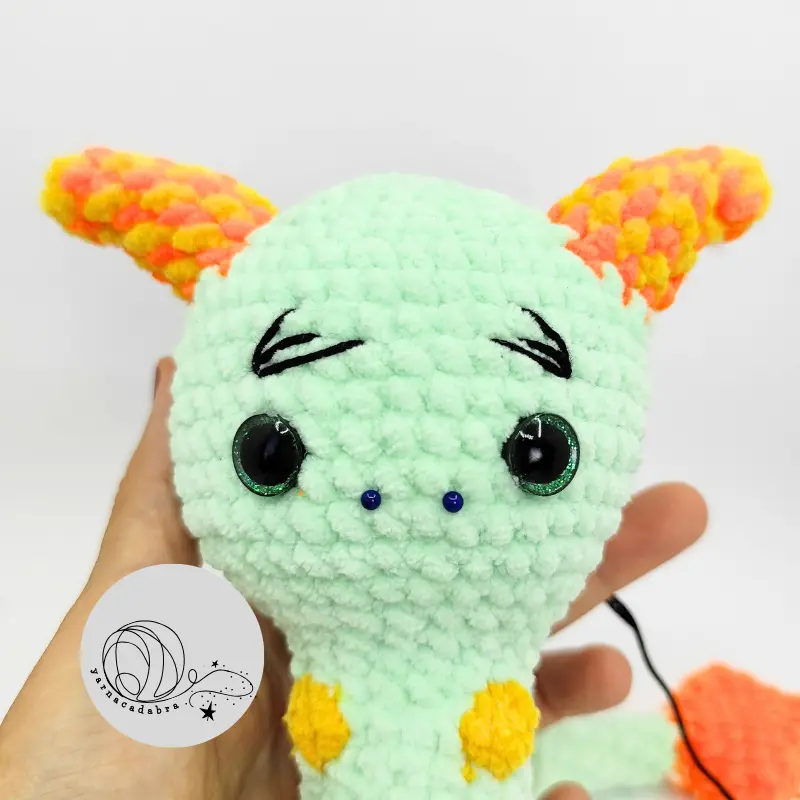
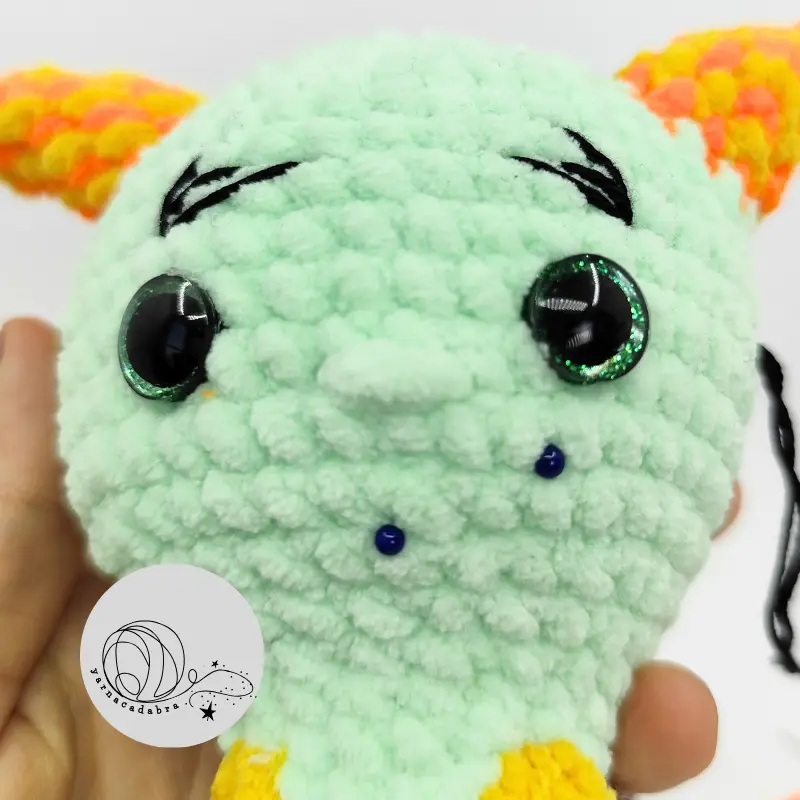
Embroider eyebrows
With black yarn embroider the eyebrows, as shown on the pictures.

Well done! You've completed your crochet project!
I hope you enjoyed crocheting your cute amigurumi, now it’s time to share your adorable creation with the world! Tag your photos with #yarnacadabra so we can all admire your work—your support means the world to me! 💛 If you have any questions, spot an error, or just want to say hi, feel free to reach out.
If you loved making this doll, check out my Patreon for more exclusive patterns and behind-the-scenes updates. Also, don’t forget to follow me on Instagram, Facebook, or Pinterest for more crochet inspiration and updates!
Happy crocheting! 😊
Zsuzsa