How to take better amigurumi photos (the easy way!)

Before I dived into designing crochet patterns, I'll be honest, taking 'perfect' photos of my amigurumi wasn't something I worried too much about. But as I started sharing my designs, I quickly realized how a beautiful photo can truly bridge the distance and connect my creations with all of you wonderful crocheters out there.
So, how did I begin to learn this? Let me tell you, learning about photography feels like diving into a whole new craft in itself! I've certainly learned so much, and I'm still on that journey, I wouldn’t dream of calling myself a professional photographer! But I've picked up some simple tricks along the way.
If you're curious about how to take that first step towards more beautiful amigurumi photos, you're in the right place! In this blog post, I'm excited to share one of the first, super easy background setups I learned, and it's something you can try today to make your little yarn friends shine!
Why Bother with "Good" Photos?
Before we dive in, just a quick thought: why does it even matter?
You Made It! You worked hard on that piece! It deserves to be shown off in its best light.
Sharing is Caring: Whether it's on Instagram, Ravelry, or just sending a pic to your mom, a good photo makes people go "Aww!"
Inspiration: Your beautiful photo might inspire someone else to pick up their hook!
.webp)
What you will need?
Forget complicated lighting rigs or expensive backdrops. Here’s what I grab:
Your finished amigurumi: The star of the show!
A smartphone: Yep, that's it! Most modern smartphones have incredible cameras.
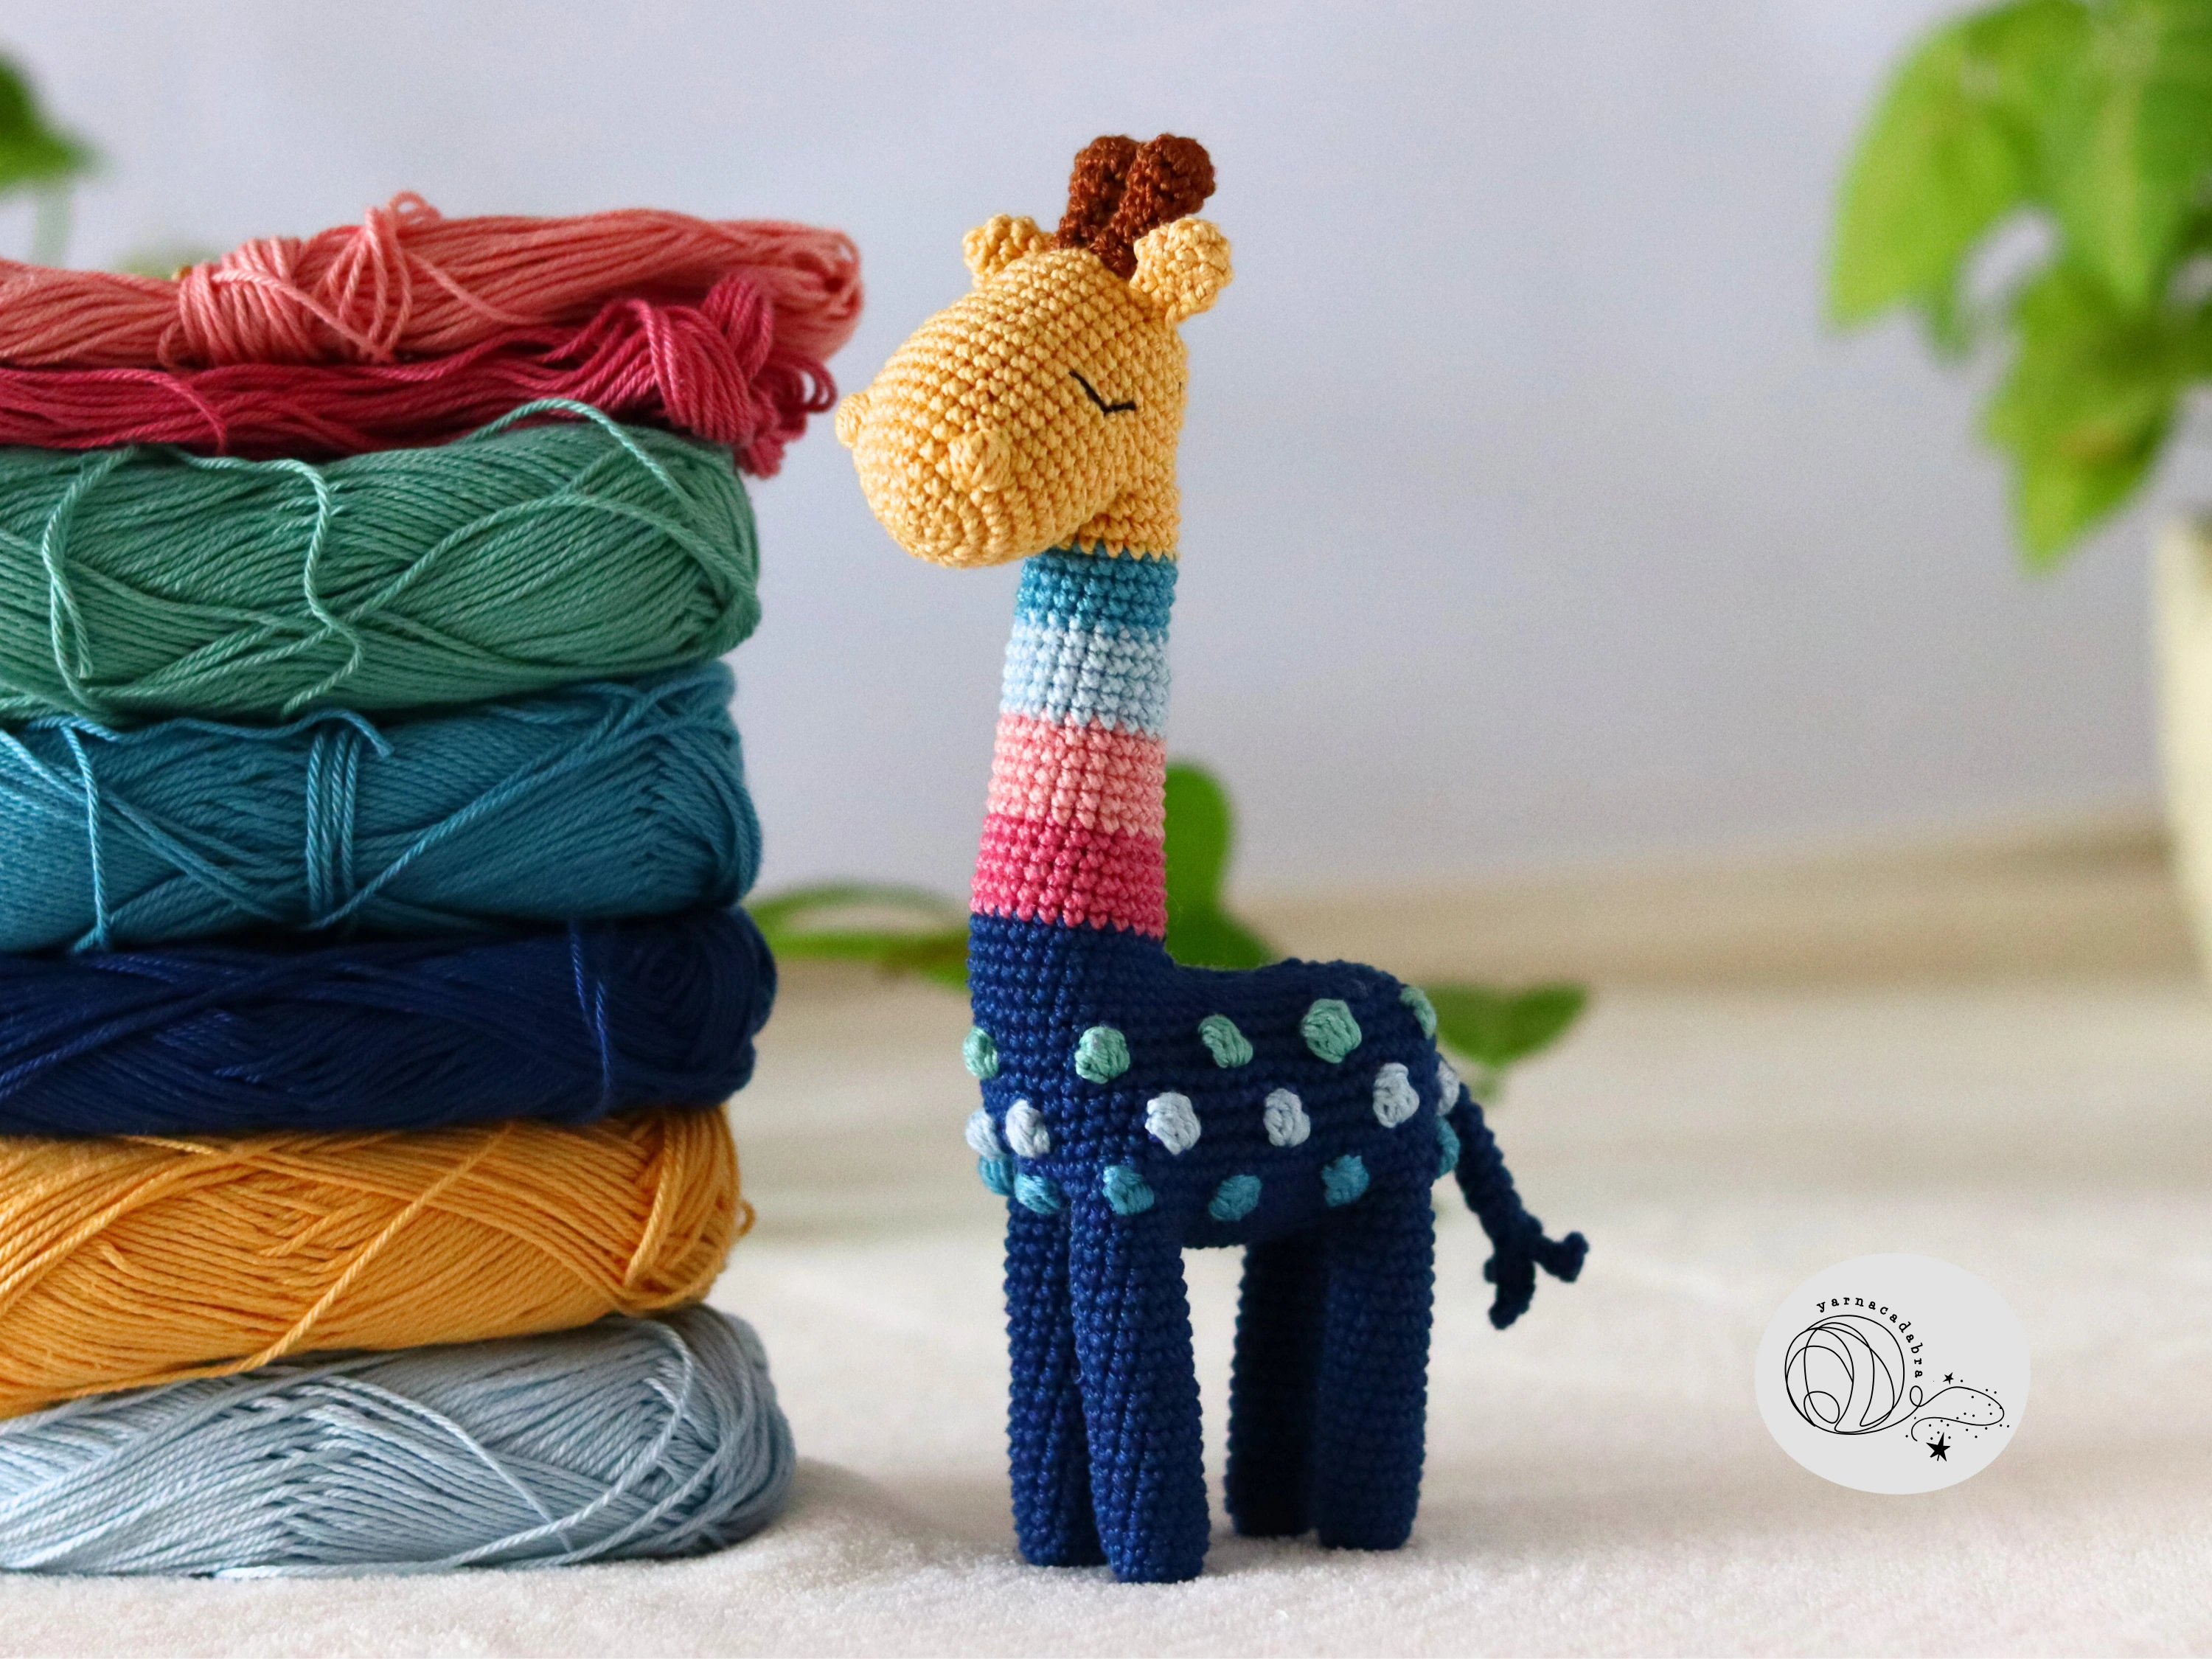
A large piece of white paper or cardboard: Think poster board, or even a few sheets of A3/Ledger paper taped neatly together. This will be your seamless backdrop. Matte is better than glossy to avoid glare.
Natural light source: AKA, a window! The bigger, the better, but any window will do.
A small, simple prop (optional but fun!):
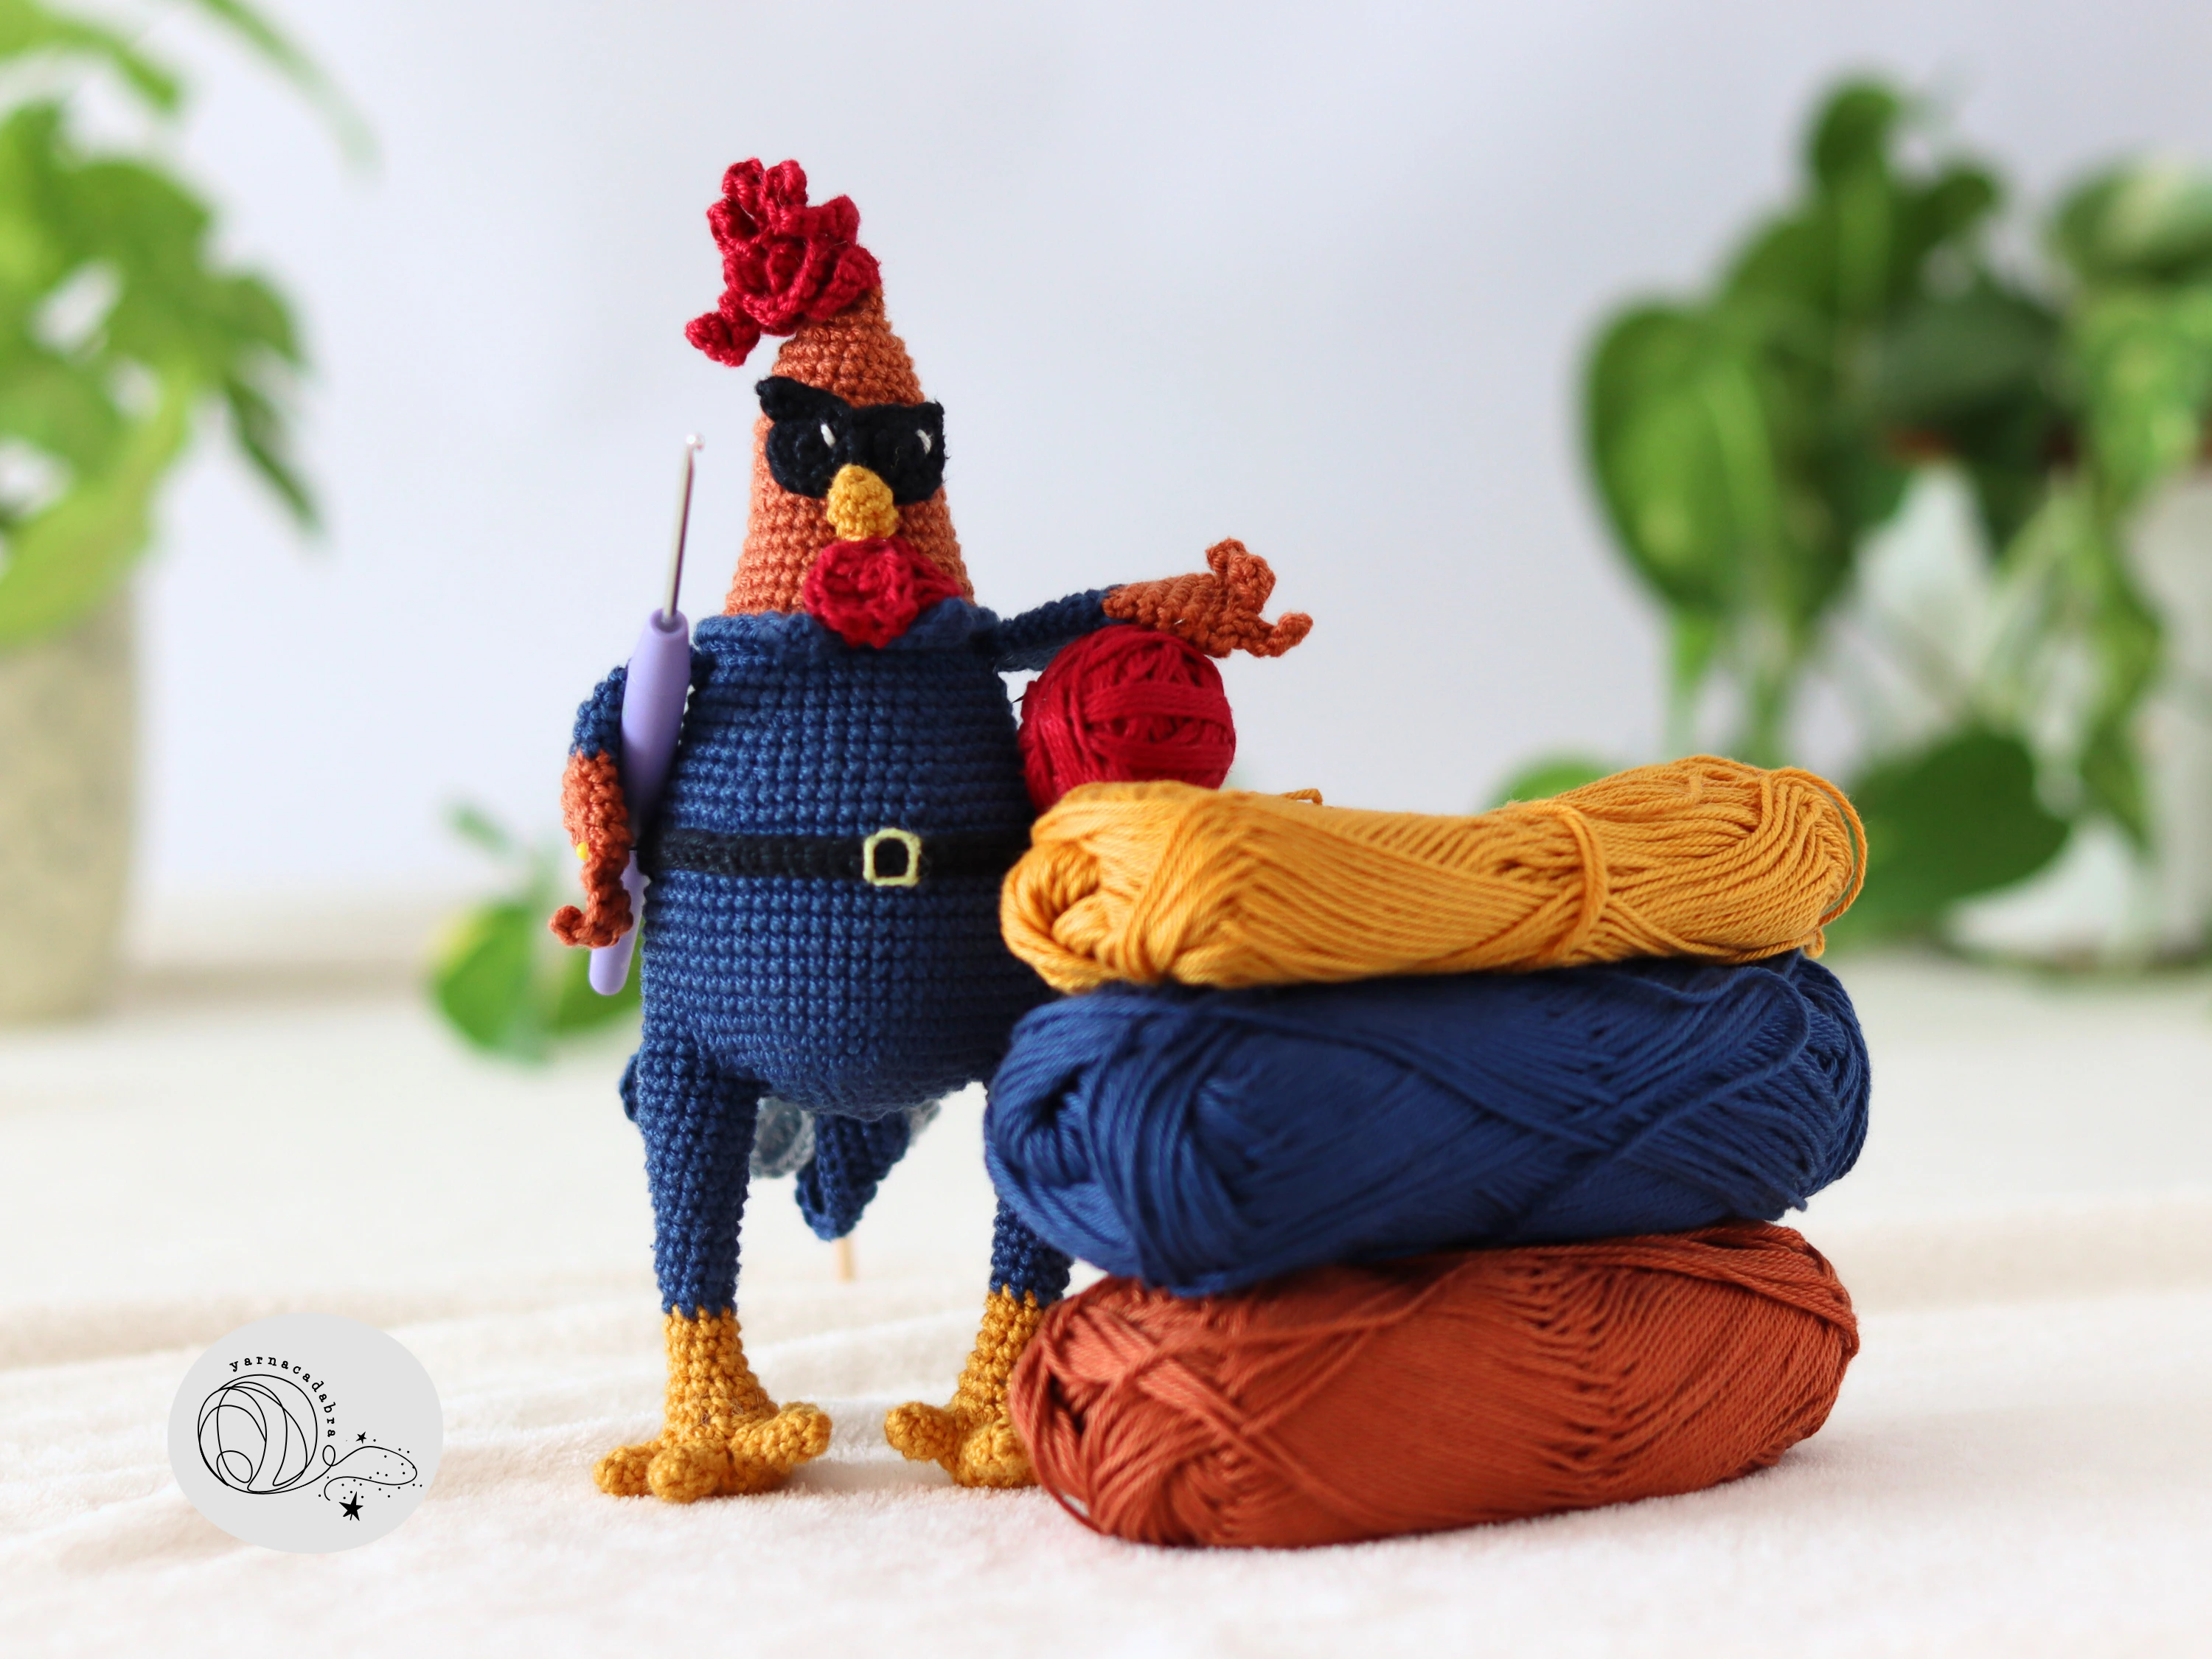
A coordinating ball of yarn.
The crochet hook you used.
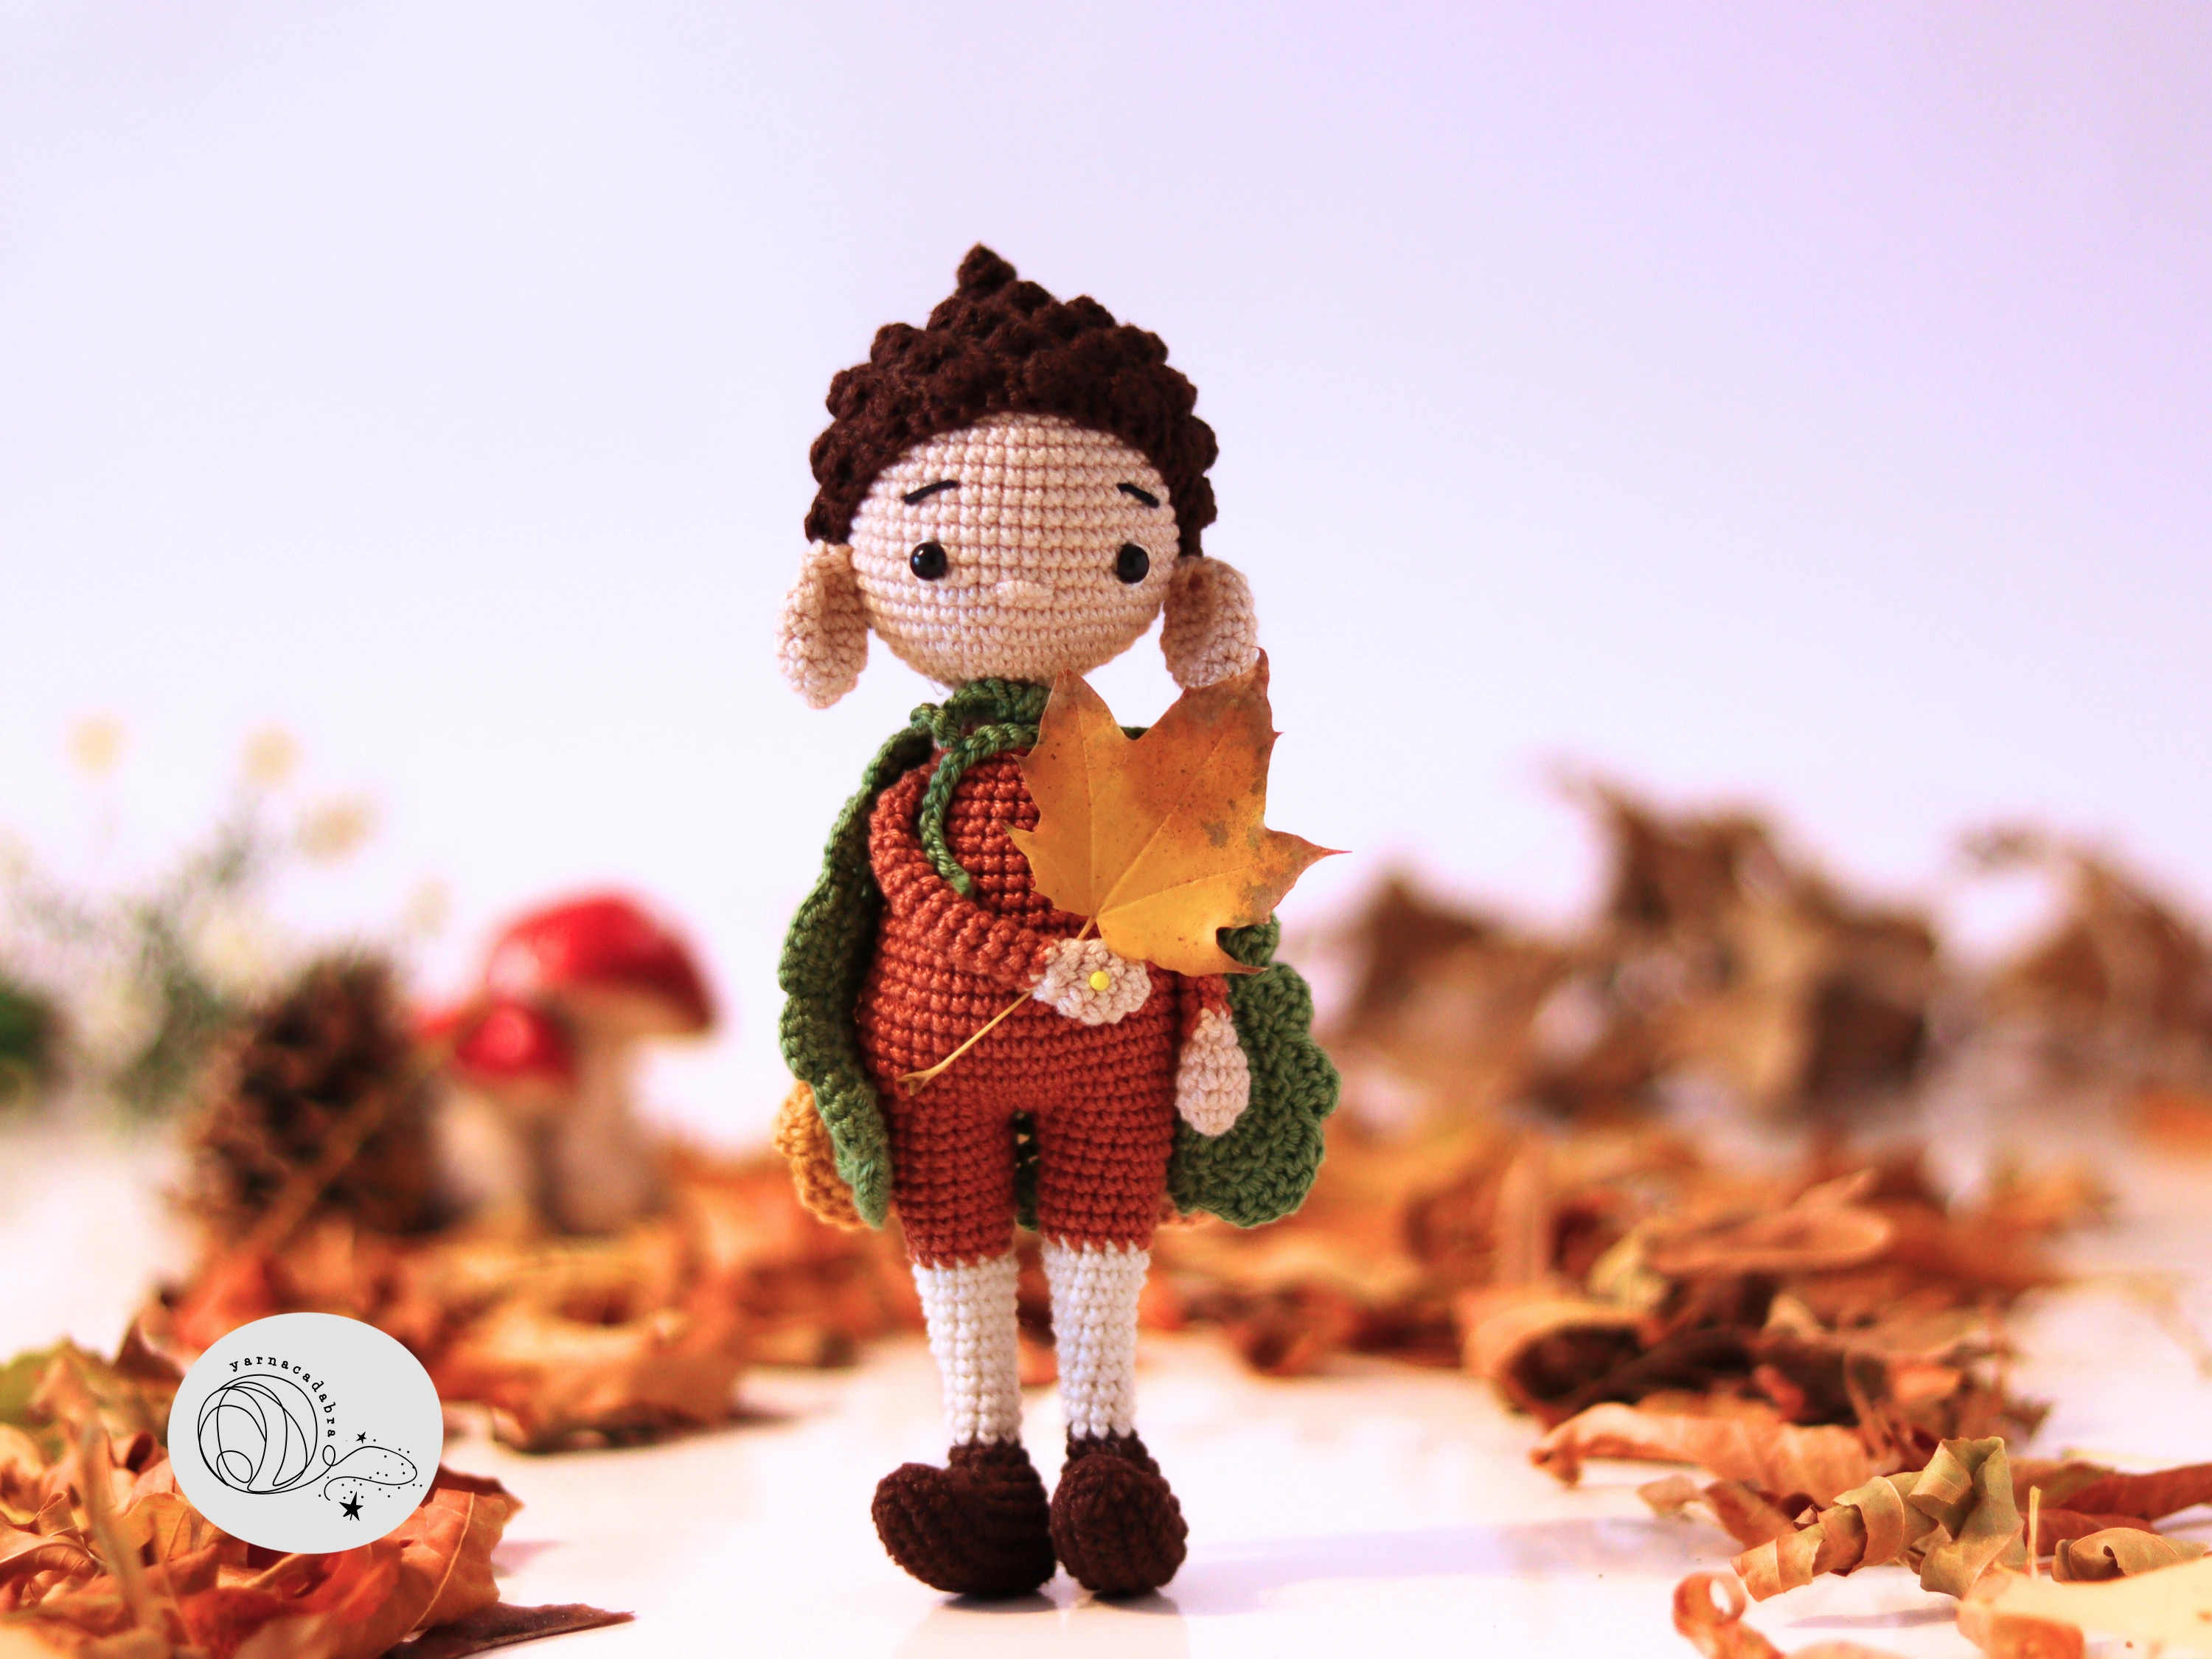
A tiny, artificial plant or a real one if it’s small and neat.
A pretty button or a wooden bead, etc.
Sticky tape or blu-tack: To hold your paper backdrop in place.
The Easiest Setup for Amigurumi Photo Magic:
Okay, got your tools? Let's do this!
Find Your Light: This is THE most important step. Go to a window that gets good, bright, indirect light. Direct sunlight can be harsh and create strong shadows. If the sun is beaming straight in, try a window on the other side of the house or wait until the light is softer. An overcast day is actually perfect!
Create your "studio":
Find a flat surface near your window (a table, a chair, even the floor).
Take your large piece of white paper/cardboard. Lean one end against a wall (or a stack of books, a box – anything to prop it up) and let the other end curve gently onto your flat surface. You're aiming for a smooth curve from the vertical part to the horizontal part – no sharp crease! This creates that lovely "infinity" backdrop.
Use a tiny bit of tape or Blu-Tack to secure the paper if needed.
Position your star: Place your amigurumi on the white paper, a little way from the "wall" part of your backdrop.
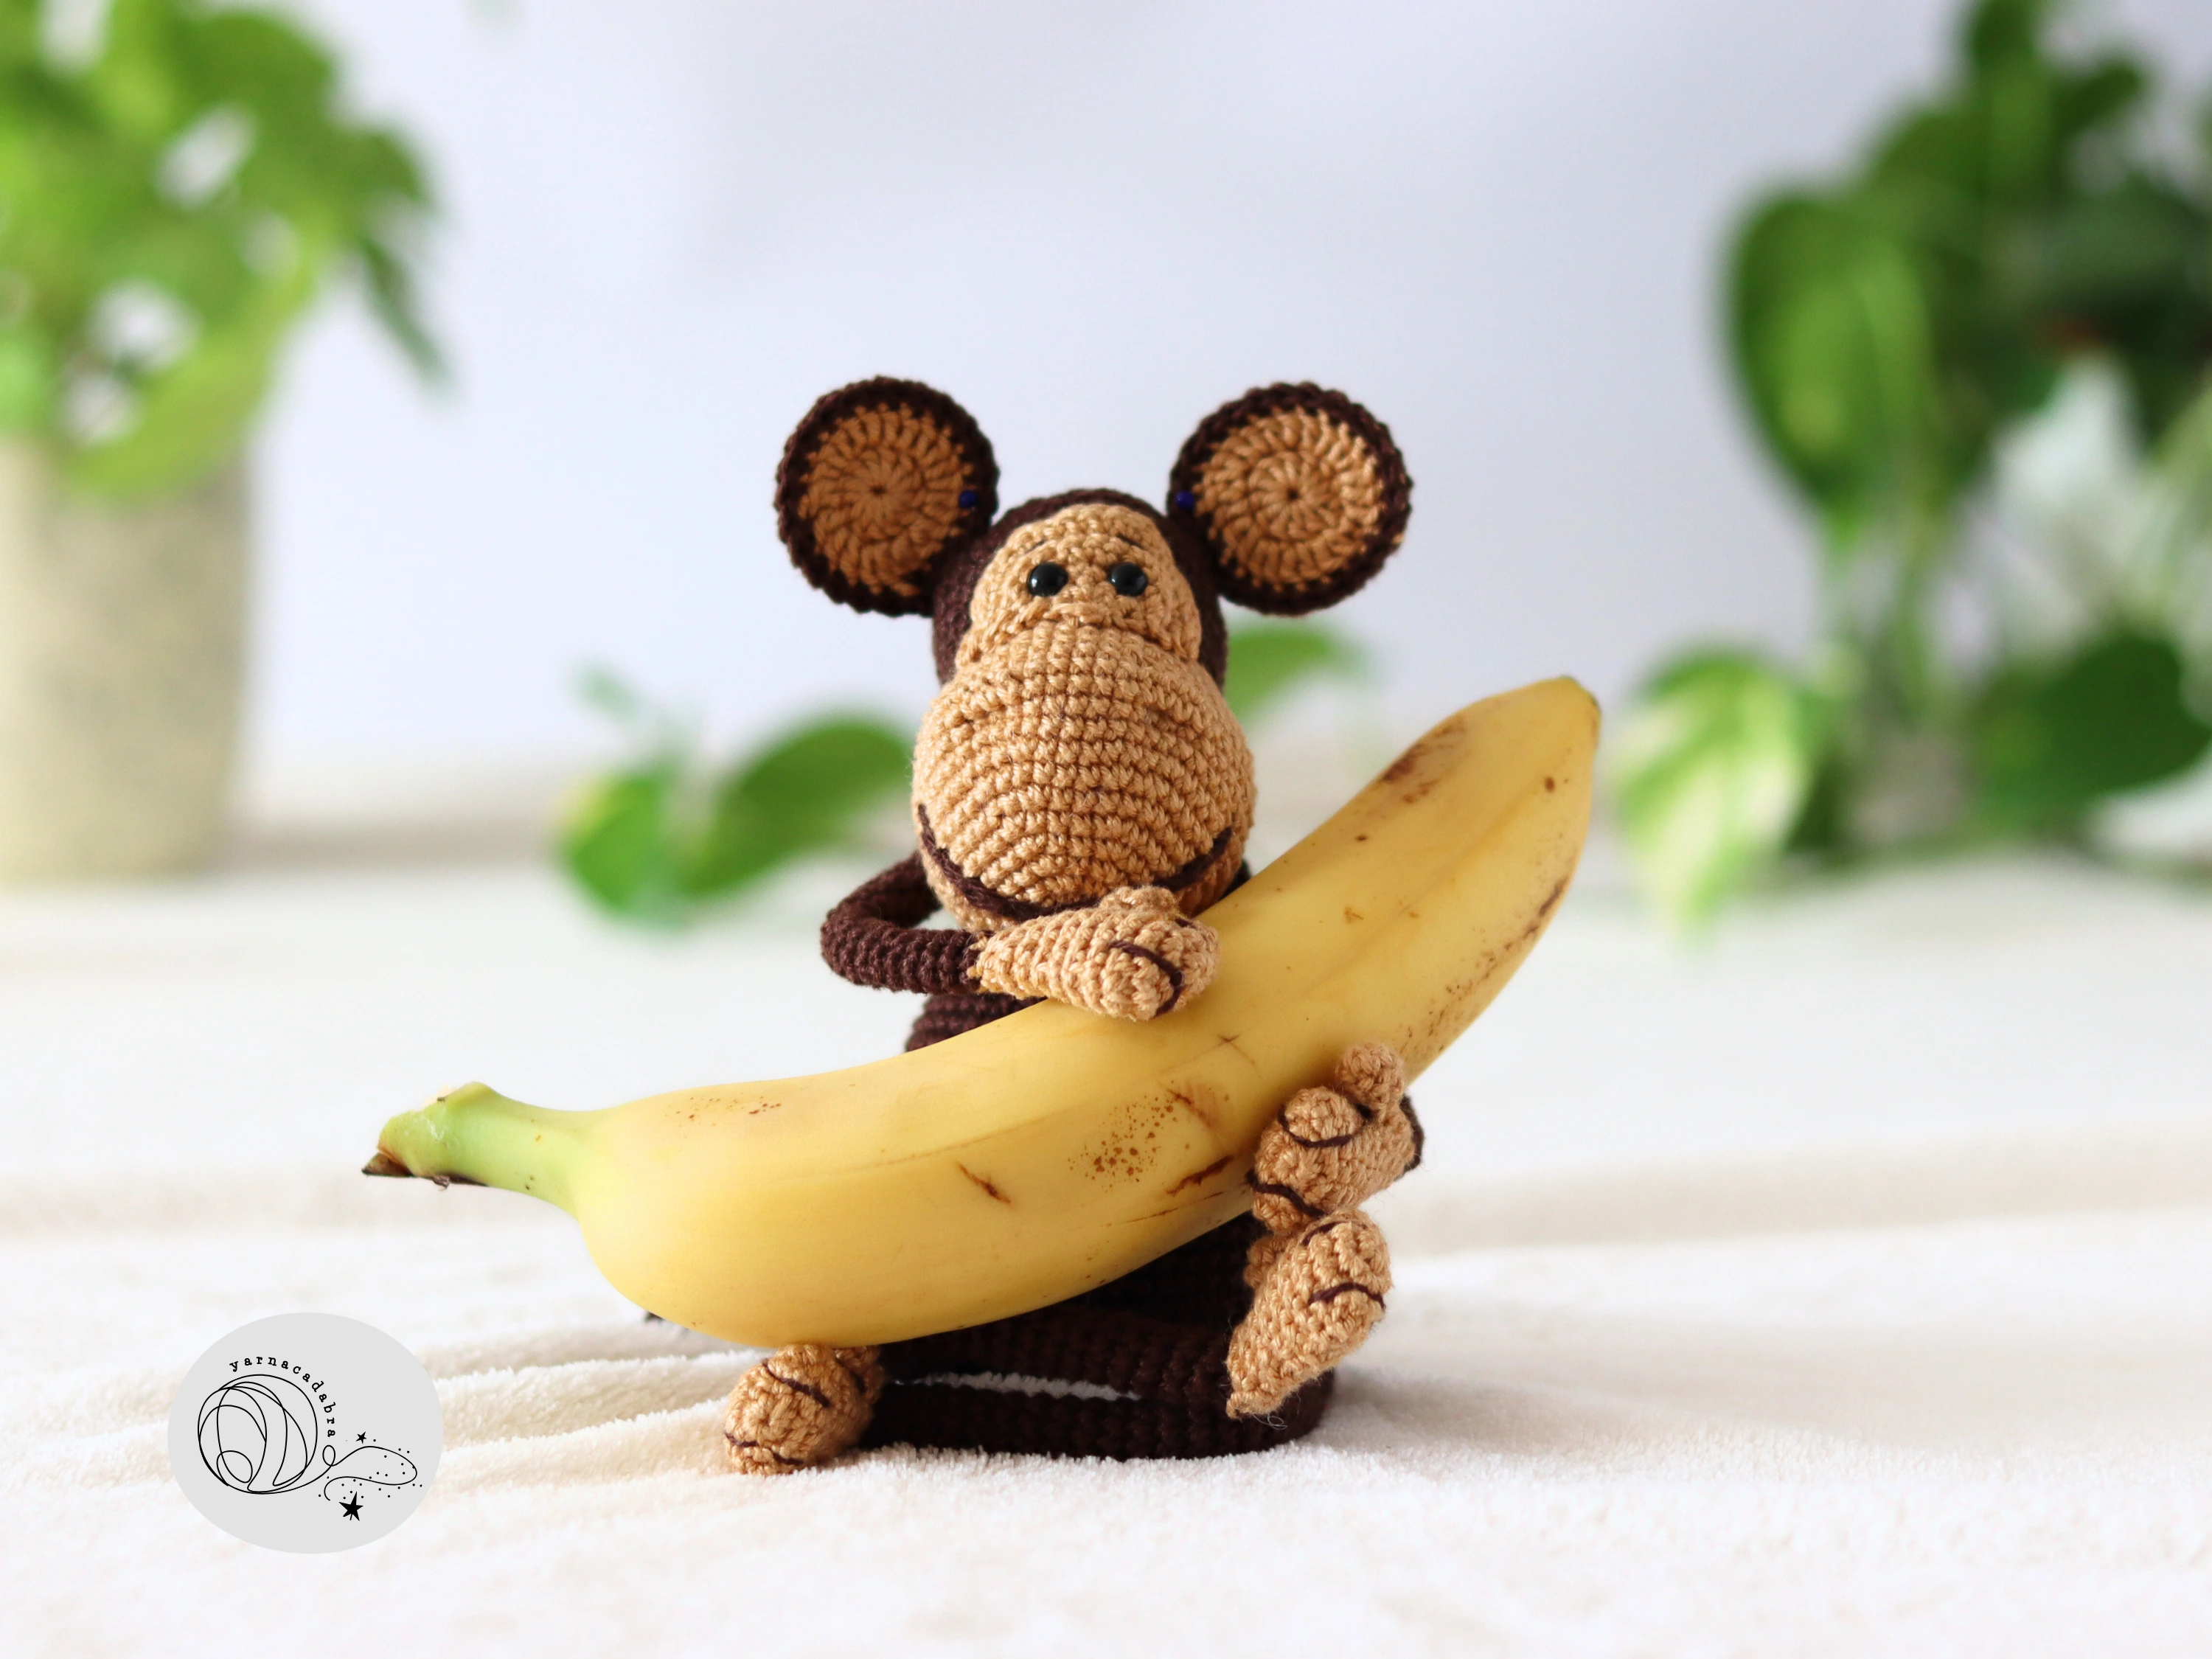
Add a subtle prop (if you want): Place your yarn ball slightly behind and to the side of your amigurumi. Or maybe rest the crochet hook gently beside it. The key is subtlety. Your amigurumi is the hero, the prop is just a supporting actor.
Get down to their level: This is a game-changer! Don't shoot down from above like you're a giant looking at an ant. Crouch down so your phone's camera is roughly at eye-level with your amigurumi. This makes them feel more personable and alive.
Frame and focus:
Move your phone around. Try slightly different angles.
Make sure your amigurumi isn't too dead-center. Shifting it slightly to one side often looks more dynamic.
Tap the screen of your phone on your amigurumi. This tells your phone: "This is the important bit, make this sharp!"
Snap away! Take a few photos. Then a few more from a slightly different angle. More is more here, you can always delete the ones you don't like.
Quick edit (optional but recommended): Most phone photo apps have basic editing tools.
Brightness: Often, photos can look a little dark. Nudge the brightness up a touch.
Contrast: A little contrast can make the colours pop.
Crop: Crop out any distracting edges of your paper or anything else that snuck into the frame.

And voilà!
That's it. Natural light and a clean, simple background do 90% of the work. It might take a few tries to find your favourite window or the best time of day, but once you nail this basic setup, you'll be amazed at how much better your amigurumi photos look.
I'm still playing around with different coloured papers, textured fabrics for backgrounds, and even venturing outside (on calm, overcast days!). But this white paper trick is my go-to for quick, clean, and beautiful shots.
Happy Crocheting (and Photographing!),
Zsuzsa